I’d like to get better at taking food photos. I’m not making it a goal for 2021, though, because “I’d like to” doesn’t equal “I’m willing to do the work/make the investment in.” I already know that good lights & dishes & backgrounds are the keys to good food photography, and that creating a dedicated space is the best approach, and that’s just not going to happen. Not this year, anyway.
If I did take good food photos, though, this blog post would be one long line of them. Since Christmas day, we have had shrimp tacos (again), salmon tacos, cod tacos, chicken tacos, and steak tacos. Also huevos rancheros, enmoladas (aka tortillas folded with mole sauce), quesadillas (more than once, for me), and a dish that Rory and I made up years ago where you soak tortillas in egg and cook them like french toast, then sprinkle with green onion and hot sauce, roll them up, and eat them with your fingers, also more than once. Also plain tortillas, eaten with butter, or better yet, with yellowbird serrano sauce.

I’m giving credit for the taco binge to the Yellowbird sauce. This isn’t a sponsored post or anything like that, but seriously, that sauce is so good! We used up our first bottle in record time and are now on our second, with a third sitting on the shelf for back-up.
The home-made corn tortillas do help, though. Having made them several times now, I think I’ll remember what I’ve learned, but tips for anyone else interested in trying:
- The water needs to be hot, but not too hot. Hot tap water is fine, but you want to be able to touch it comfortably. If it’s too hot, it dries out the dough and makes it crumbly (and obviously, you can just add more water to fix it, but still, you’re making it harder on yourself than it needs to be.)
- As you start kneading, the dough will feel rough, sort of textured. The more you knead, the smoother it gets, and you want it to feel smooth. You’re done kneading when you can’t feel the texture of the corn anymore.
- Press and then rotate, usually four times. The side near the hinges of the press will always be flatter, so each side needs a turn near the hinges for an even tortilla. If you just press once, your tortilla will — well, it’ll probably be fine, really. But it won’t be as good as it could be.
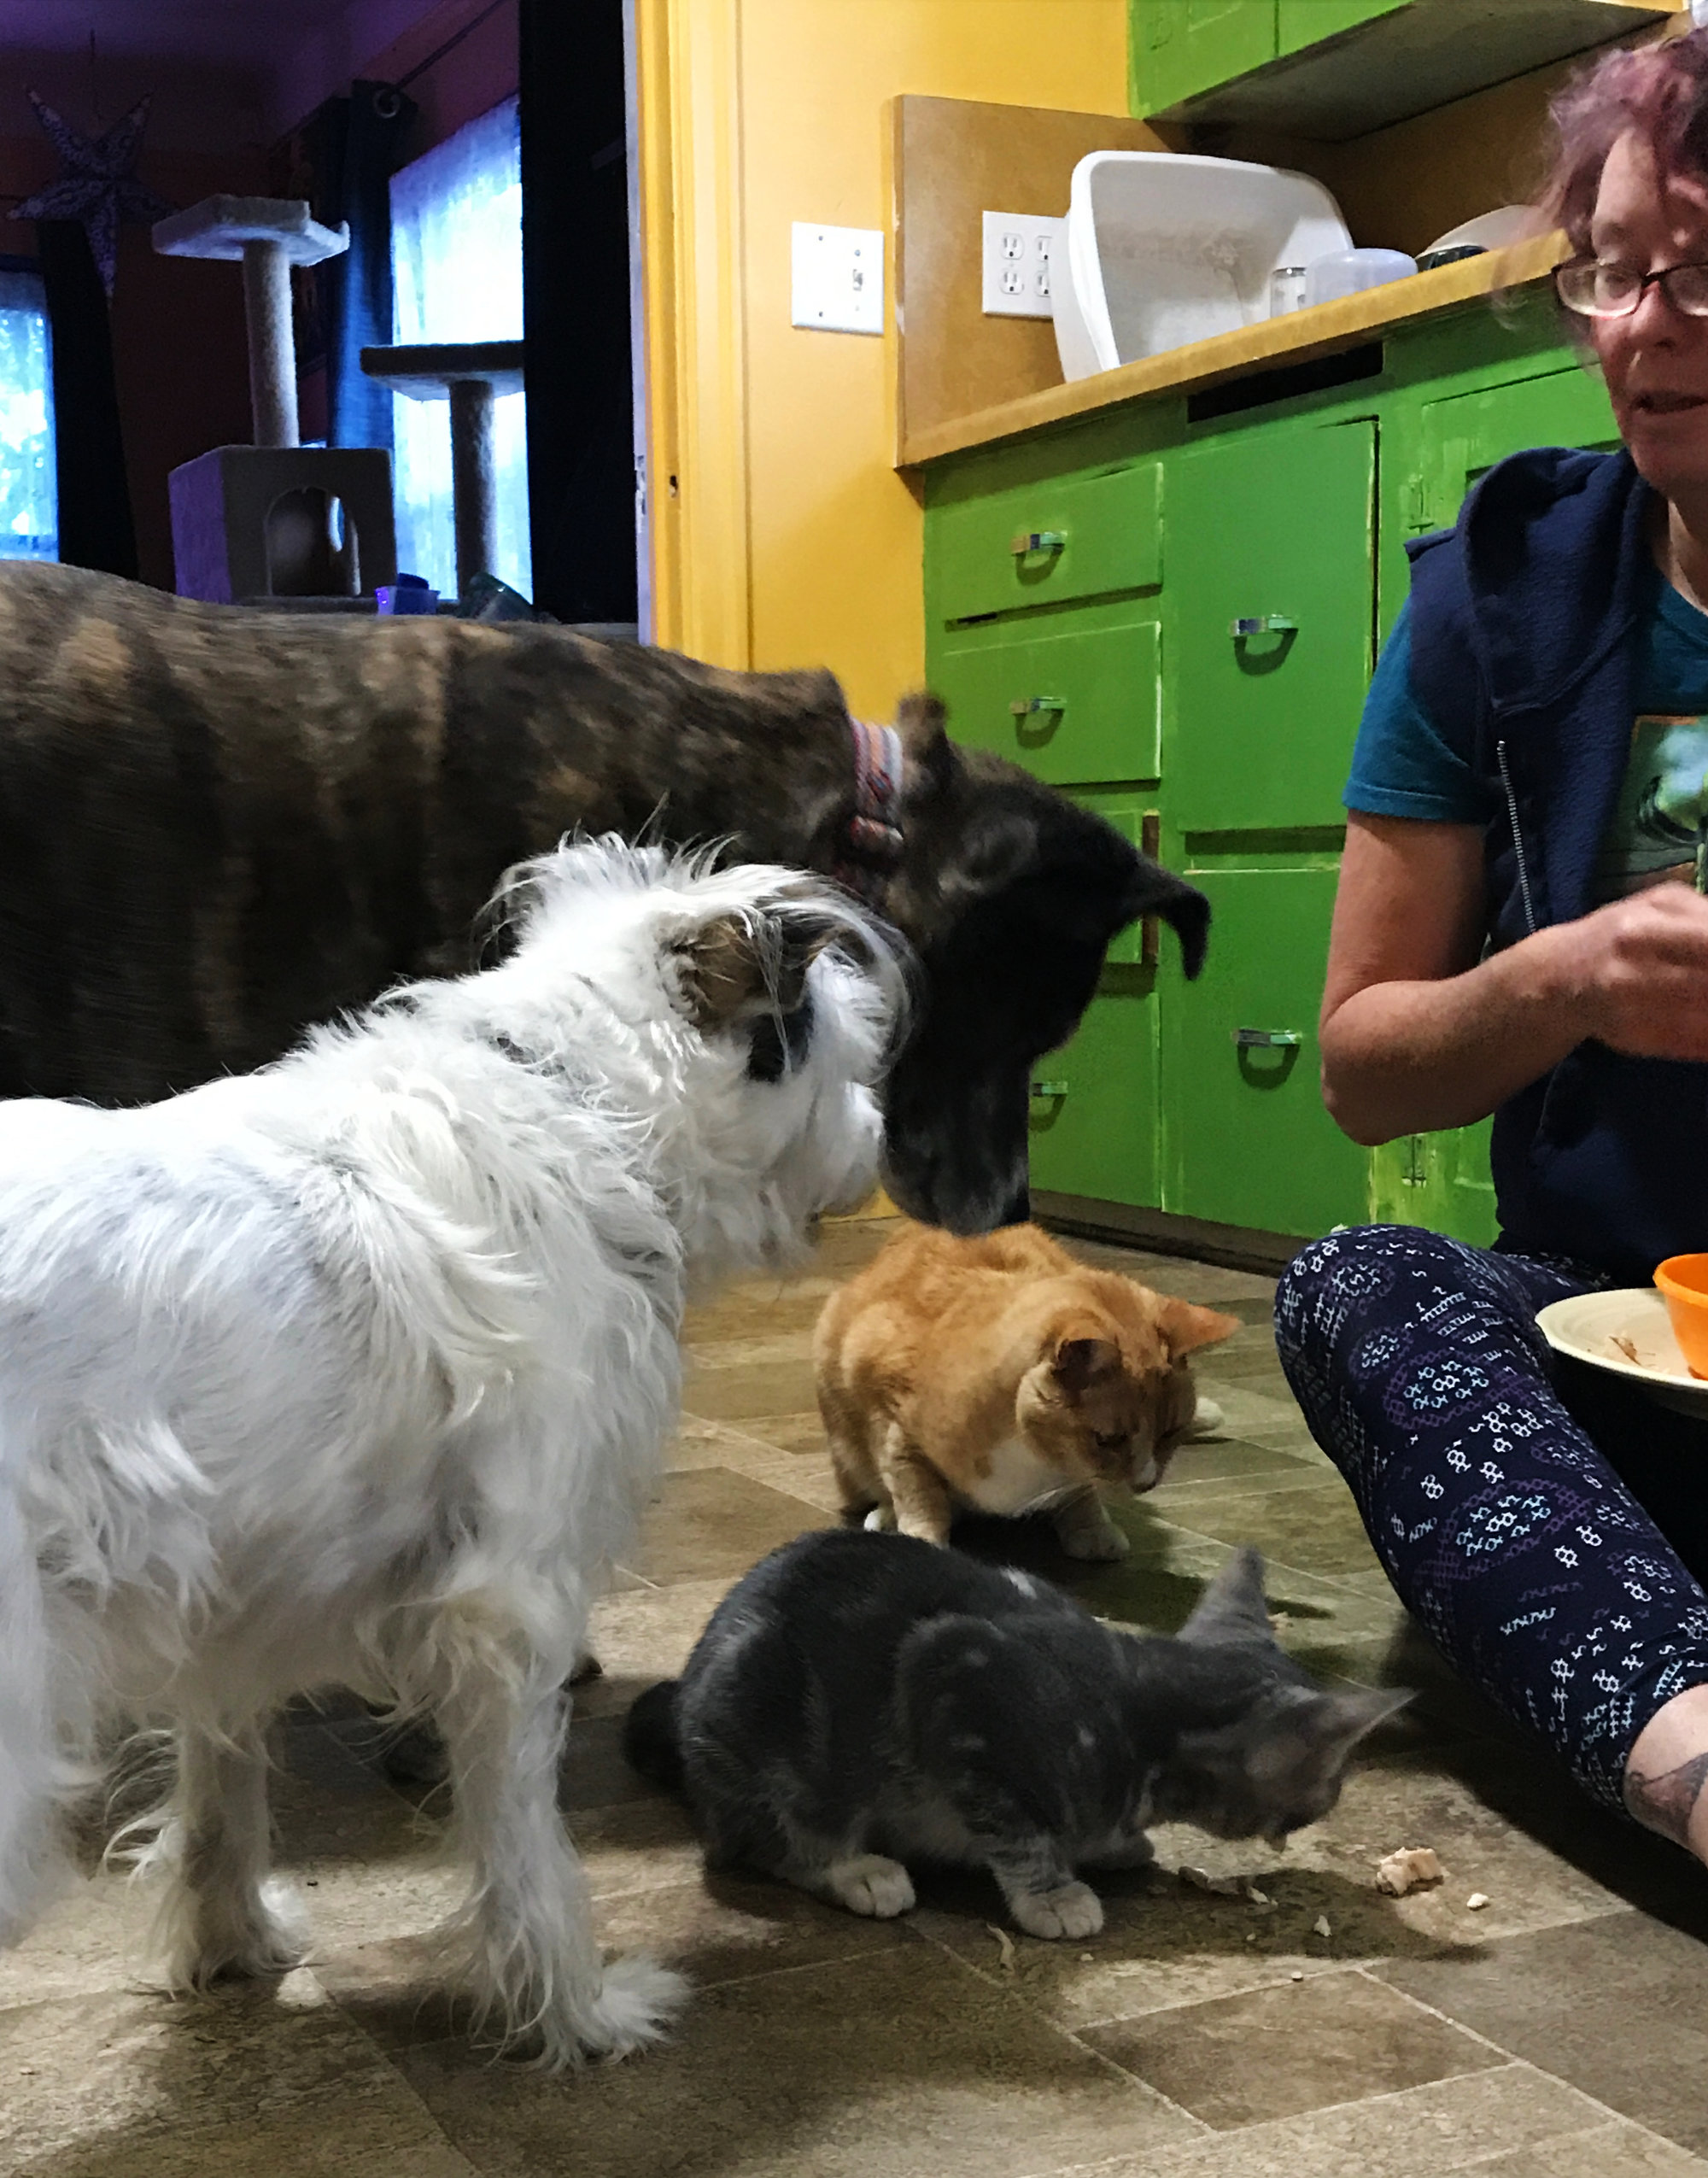
- Start peeling the tortilla off the plastic (that you’ve pressed it between) over the pan on which you’re planning to cook it. Not over the floor. Definitely not over a dog’s mouth or a cat’s head.
Previous tortilla recipe for reference: Tortillas turn out to be ridiculously easy to make if you have the right tools, aka a cast iron skillet, a tortilla press, and a tortilla warmer. Also helpful, a heavy-duty ziplock bag. On two cups of masa (corn flour, available here at every grocery store), pour one and a half cups of very hot, but not boiling water. Let it sit for five minutes, then knead it for several minutes. If it’s too crumbly, add a little more water; if it’s too sticky, add a little more masa. Divide the dough into 12 – 16 equal-sized balls. (For me, using the Christmas cookie method of dividing the dough in half, then in half again, then in half again, then in half again, was a good way to get very evenly sized balls.) Heat a cast-iron skillet to fairly hot, but don’t add oil. Cut the heavy-duty freezer bag open and cover the tortilla press with it, and press each ball of masa individually between the plastic sides. Then cook it in the cast-iron pan for about thirty seconds per side or until it puffs up slightly. Put the tortillas in the tortilla warmer to stay nice until you’re ready to eat them.
Making tortillas sounds like such a good thing to do – maybe I’ll give it a shot one of these days!